Anime Boy Face Line Art Anime Boy Curly Hair Line Art
Hair is 1 of my top v favorite things to draw and color, and this was also a very requested tutorial. I tried to add as much information as possible while keeping the video fun to watch and total of tips!
Zippo here is a difficult rule, and information technology's mostly to show how I do things, and then I hope you enjoy information technology 🙂
Using references
Information technology'due south tough to describe things when yous don't bank check what they look similar in existent life. So every fourth dimension you're stuck, search for photos! Non just of anime drawings, only actual people every bit well.
Where, you ask? In that location're plenty of places; you can become on Pinterest, Instagram, DeviantArt, etc.! And if you think that's cheating, copying, or stealing, it's not. Every nifty creative person uses references, then you lot should too!
Shape and volume
Hair and optics in anime are often used to express emotions and a grapheme's personality, so they're commonly given more details than in real life. Merely this is drawing, and so in that location aren't any complex rules for this! Permit your hand flow, and practice your creativity. Take a look at your favorite anime drawings. How does the hair make you lot feel?
Directly black hair feels serious;
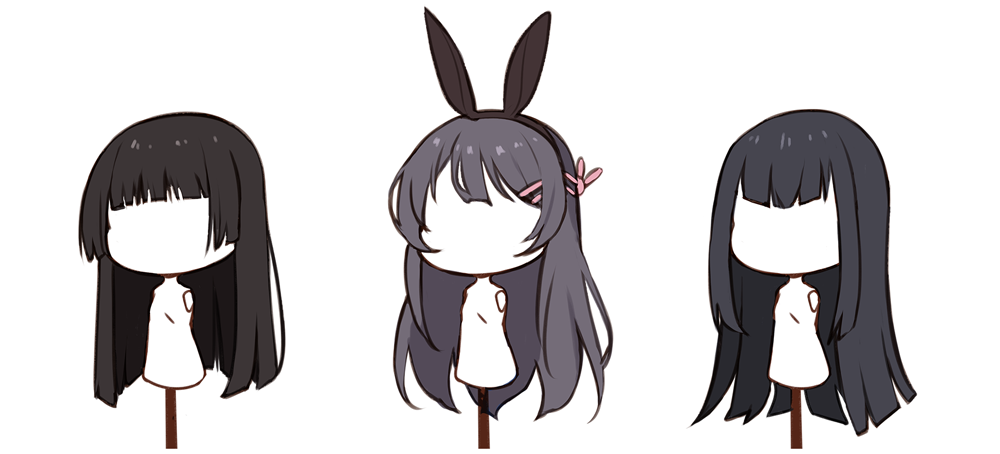
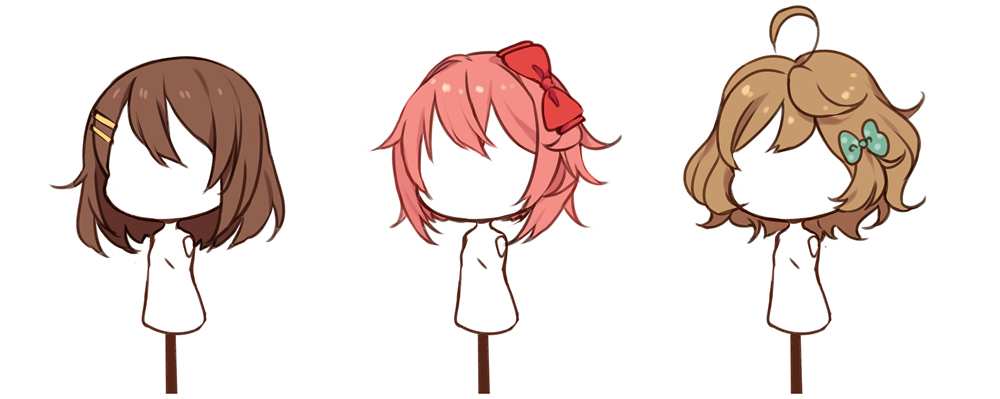
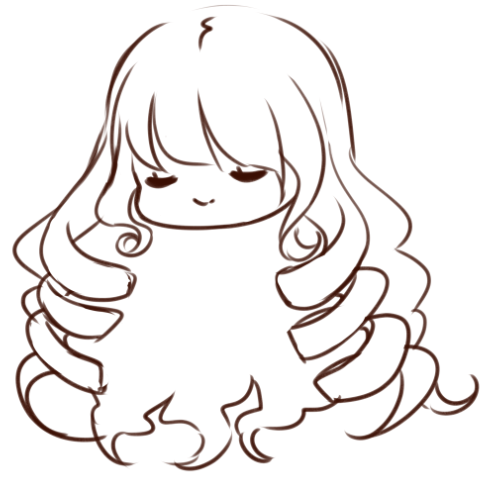
while fluffy curls are warm and welcoming!
Sketching tips
I outset pilus merely thinking of the general outline without giving much attention to details: when sketching, only the general shape matters.
If y'all don't know where the hair starts in the caput, recollect of the skull, and add some padding. A simple line in the eye should be enough to represent that. You tin can make the elevation part more complex as you learn how hair works.
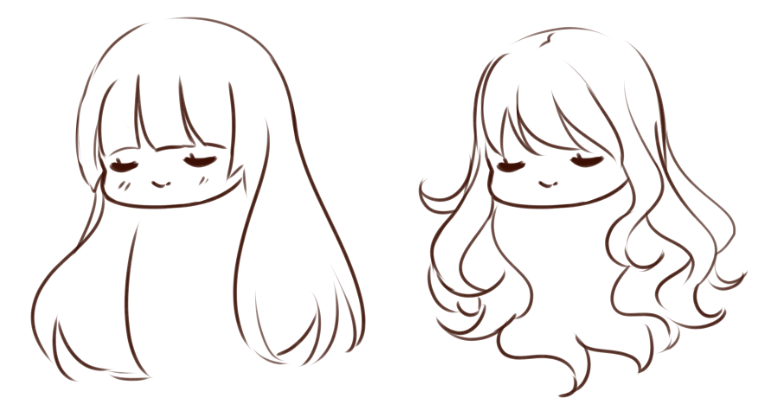
Also, it's good to work with S curves. Fifty-fifty if the hair is straight, information technology can be a long open South, making the pilus wait low-cal and flowy. With wavy hair, the Due south curves will be more visible!
For perfectly curly pilus, I use a different technique. I kickoff describe a spring and define the front end office. And then, I indistinguishable that line shape.
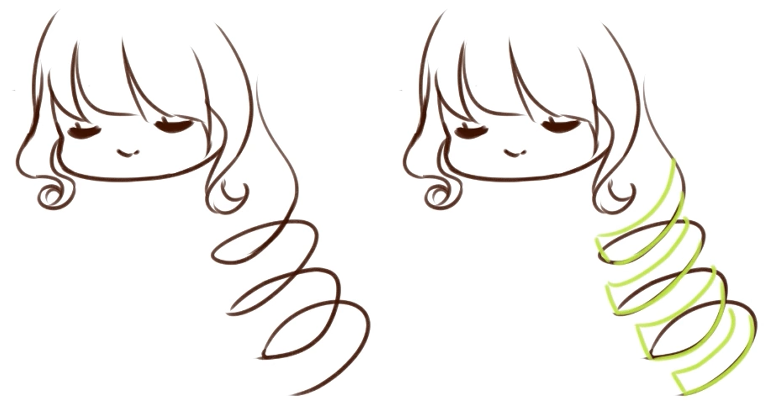
After that, I erase the lines that are on the back and connect them to class a full spring!
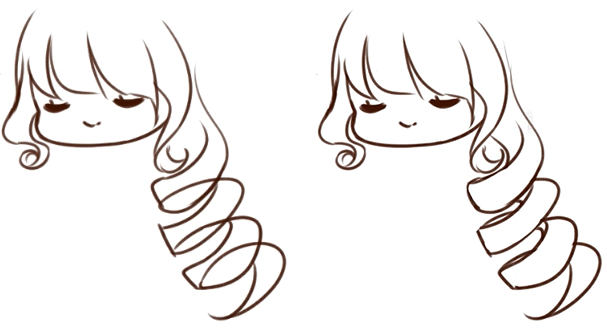
You don't need to describe every strand like that (feel costless to practise and so if you like though!), a few will exist plenty to requite the feeling you are looking for, and the back tin just take a elementary shape.
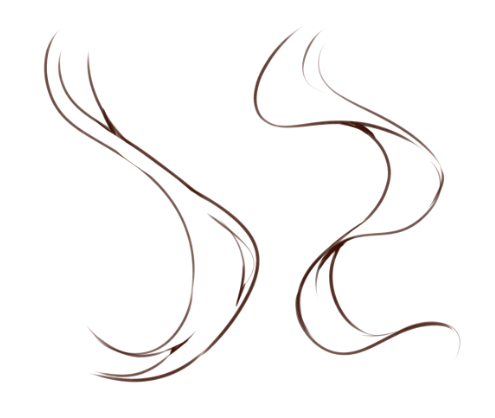
Don't be afraid to delete what looks wrong and attempt again. Even if it takes time, spending time on this part to get the feeling right will pay off in the end.
Another important tip is to piece of work with long lines, not curt chicken scratches. It will make your drawing look more than polished, and y'all will have fewer chances to hurt your wrist!
Take breaks if you are lost, and look up new references to refresh your eyes. Brand sure to exit them open while you draw; it will assistance a lot.
Well-nigh lineart
Depending on the drawing, I will make clean up the sketch instead of creating lineart.
By "clean up", I mean I will erase the messy lines and get over them when necessary, giving it a different feeling than a perfectly clean line. I feel this helps me relax about fine art and not worry too much about details.
You lot don't need to over-zoom and glue your face on the screen to be sure the lines are perfect! To exist quite honest, you are likely to be the merely one that volition be able to spot your minor mistakes.
The brush for lineart tin can be the aforementioned as for sketching, but this volition depend on how you want it to look. I highly recommend looking at the standard brushes or checking Prune Studio Assets. At that place are many fun brushes you lot can easily download and use.
In this phase, you can brand the lines thicker where they intersect or where shadows will be. It will give your lines more than depth.
Shading
Once yous have the base colour added, define where your lite source is. Think your basic lessons about ball shading? Do exactly that.
To do this, lay out a general shape with the shading colour.
One time y'all take the general shape defined, y'all can smoothen it until your liking.
Just as you are still learning, you lot don't demand to get fancy on the shading. Go slowly, within the scope of what you feel is challenging plenty for your current skills, then make it complex every bit you go!
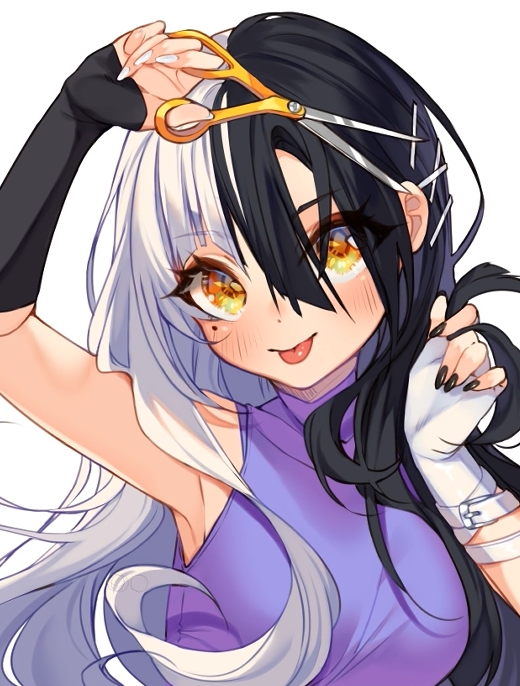
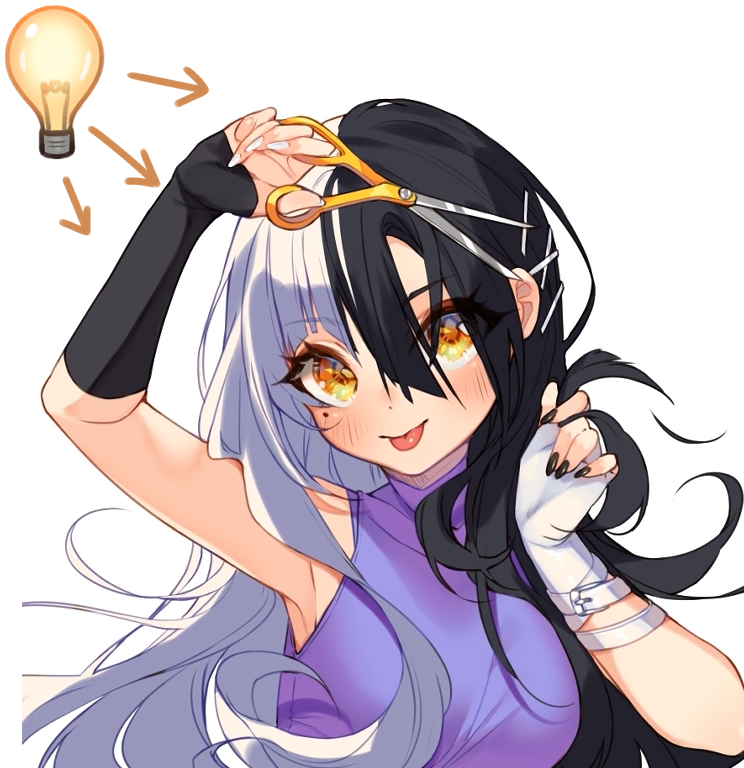
Equally you can see, in that location's some kind of backlight on the blackness that matches the grayness on the white side. I usually add some actress color to the hair I draw, considering information technology looks pretty!
Now, how to pick the right color?
Brusk respond, there is no right colour! Play with them until you find what you like: attempt pinkish in bluish, imperial in green, orange in yellow, so on. Have fun! Wonder how to brand blackness and white pilus not look grey, majestic, etc.
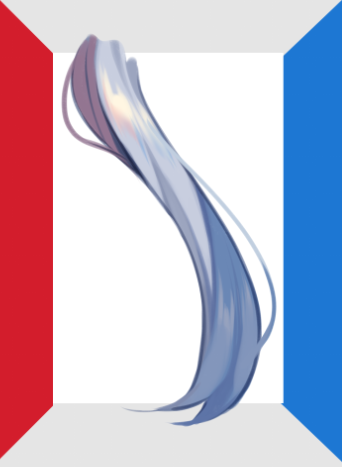
If you utilize similar colors to your drawing's surroundings, the tone will await correct. For instance, if her shirt were red, I would add more red tones to the hair. I tend to use colors already on the drawing and playing around with them. Like this hair strand in a blue and red room: there's a chip of each color on it.
Merely if you are working with complicated hair like a rainbow or slope, you tin set a new layer on top in Multiply blending mode, and test out which colors work better without messing up the slope.
Highlights
This part is very fun, and there are many ways to add together shine to the hair.
Yes, even white hair!
I like to airbrush the skin color on the bangs, so when I add together white highlights on top, it will testify!
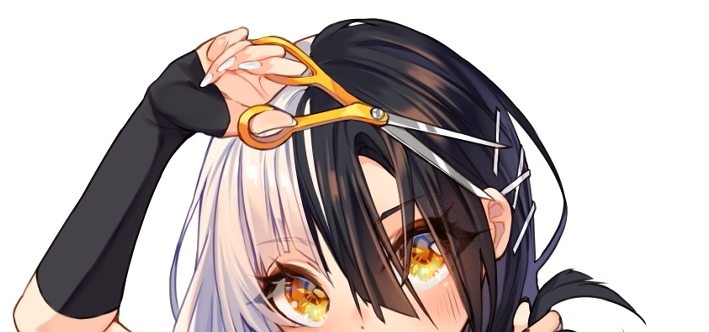
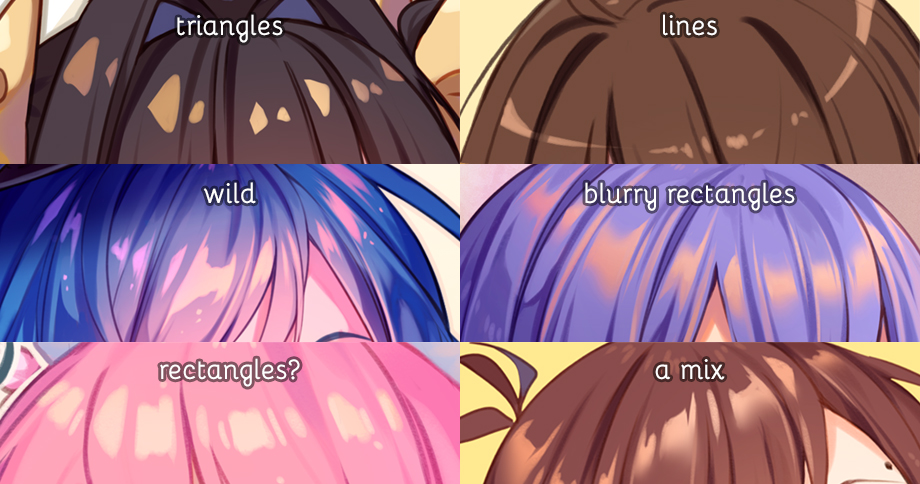
If you don't know which colour to use, yous can take the hair colour, create a new layer, ready the blending mode to Add together (Glow), and then add together blobs, triangles, lines, etc. Whatsoever shape works, and so practice what fits your gustatory modality, and and so use hue and saturation (Ctrl+U) to change the color to a tone that matches.
When I add highlights, that's when I as well add messy strands. We all struggle with messy hair, right?
Another little matter I enjoy is making the eyelashes and eyebrows transparent. You tin easily practice that by locking the lineart layer, and then coloring with a color that's darker than the hair, or lighter. Attempt information technology out; information technology depends on the hair color you are using, and if your lineart is prepare as multiply or not.
Decision
Maybe you're however unsure how to draw hair fifty-fifty afterward this tutorial, but I don't expect you to suddenly be a pro. As I always say, art takes fourth dimension.
And so at the very least, accept abroad this important betoken from this: use references! I can't repeat this enough but brand sure to use them mindfully.
I believe you don't really need a step-past-pace to learn something. Instead, endeavor to understand things in your own way. Equally long equally you enjoy what you exercise and are up for the challenges life volition bring, yous will grow as an artist!
Practicing is key, but patience and passion make upwardly the door.
Thank you very much for checking it out!
Have a skilful time drawing ☆ ~('▽^人)
– Hyanna Natsu
YouTube Channel
locklearclearders.blogspot.com
Source: https://www.clipstudio.net/how-to-draw/archives/161517
0 Response to "Anime Boy Face Line Art Anime Boy Curly Hair Line Art"
Post a Comment